- Resource tools
- Alternative files
- Editing resources
- Editing multiple resources
- Editing resource previews
- Resource status & access
- Sharing resources
- Deleting resources
- Related resources
- Version control
- Lockable metadata
- Geolocation
- CSV export
- Metadata report
- Resource commenting
- User rating of resources
- Usage history
- Resource locking
- Downloading multiple resources
- Image preview zoom
- Subtitles for Video Preview
- Annotating resources
Managing dash tiles
For some user groups who do not have the permission to manage their own dash, they will not be able to add, remove or rearrange the tiles given to them by the system Administrators. In this case the Admin user will be able to decide exactly how these users see their homepage and will be able to order their tiles for them.
If users do have the permission to manage their own dash, they will be able to remove and reorder Administrator created tiles, as well as create their own.
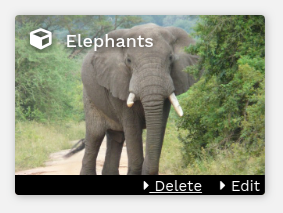
For these users it is simple to remove unwanted dash tiles by clicking and dragging, dropping the tile on the trash icon which will become visible at the top of the page. There is also a hover over menu, offering "Edit" and "Delete" options.

Dash Administrators can create tiles for all users, or for selected user groups under Admin > Dash tiles. It is also here that they can reorder the tiles for those users who cannot manage their own dash. 
Creating tiles
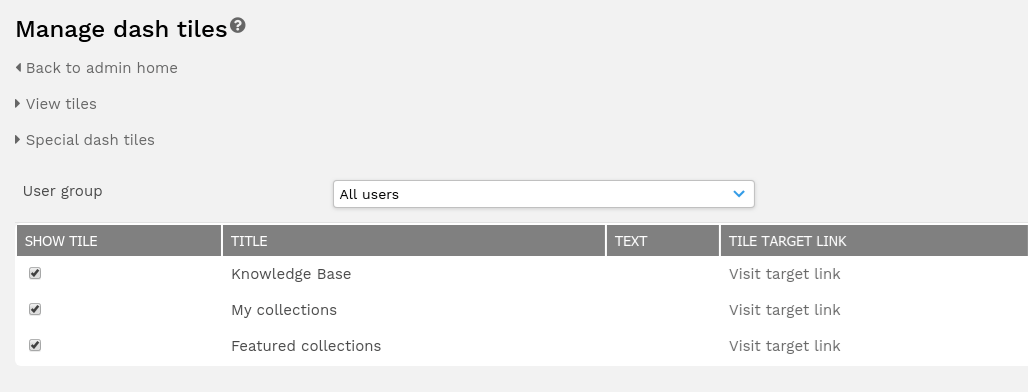
As well as linking to collections, special dash tiles can be created to link to a user's contributions, featured collections, the upload page, or to another place within ResourceSpace such as public collections. These are created under "Manage dash tiles" and can be published for all, or seleted user groups.
Reordering
Select "View tiles" on the manage dash tiles page and simply drag and drop the tiles to re-order them to display as you wish, the new location will be saved. Tiles are ordered in a linear manner which means you can only move a tile to where an existing tile resides.
Removing tiles
- Click and drag the tile that you wish to remove towards the bin icon that will appear at the top of the screen.
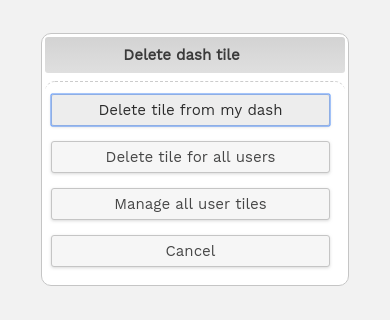
- You will then be asked to confirm your action. If you have tile administration permissions then you can remove that tile from just your dash or from all users
